How To Keep Your House Plants Alive & Thriving Using Al’s 5-1-1 Mix // Boise Senior & Boudoir Photographer Makayla Madden Photography


Do you have a black thumb? I did too until I almost killed my Precious Fiddle Leaf Fig and found out about Al’s 5-1-1 mix.
It was due to our fiddle (AKA Sid)’s near-death experience that I scoured the internet trying to get any and all advice on what was wrong and how to save him. On the garden forum at Houzz.com is where I found Al “Tapla”, a plant GENIUS who taught me so much about plant needs, care, and his 5-1-1 potting mix.
If you’re anything like I used to be, chances are you are just DYING to add some real houseplants to your home. Heck, maybe you’ve even brought a few in only to watch them slowly start to wither, fade, and droop into nothingness before sighing and giving up. You may have even accepted your fate a long time ago and told yourself that fake plants are the only ones you can keep in your home. Well, I’m here to tell you you’re wrong!
Please note that I don’t claim to be an expert by any means, but through trial and error and my own Fiddle Leaf journey, I have done hours upon hours of research and been apart of various garden forums where pros have explained and walked me through the proper ways to care for my plants. This is just me sharing the knowledge I’ve acquired and passing it on, from one plant lover to another.
The Story of Sid:
When we first bought our Fiddle Leaf Fig from our local nursery, I was determined to keep him alive despite my notorious black thumb (prior to buying this $200 tree, I killed everything from lavender to basil to ferns to air plants). So it was probably naive of me to think that just giving my tree a name would suddenly make my years of killing plants just vanish and turn around, but still I figured, what could it hurt? My husband and I landed on the name Sid. Sid, the Fiddle Leaf Fig. We popped him in a corner in our room in front of our southwest facing window, and he was home.
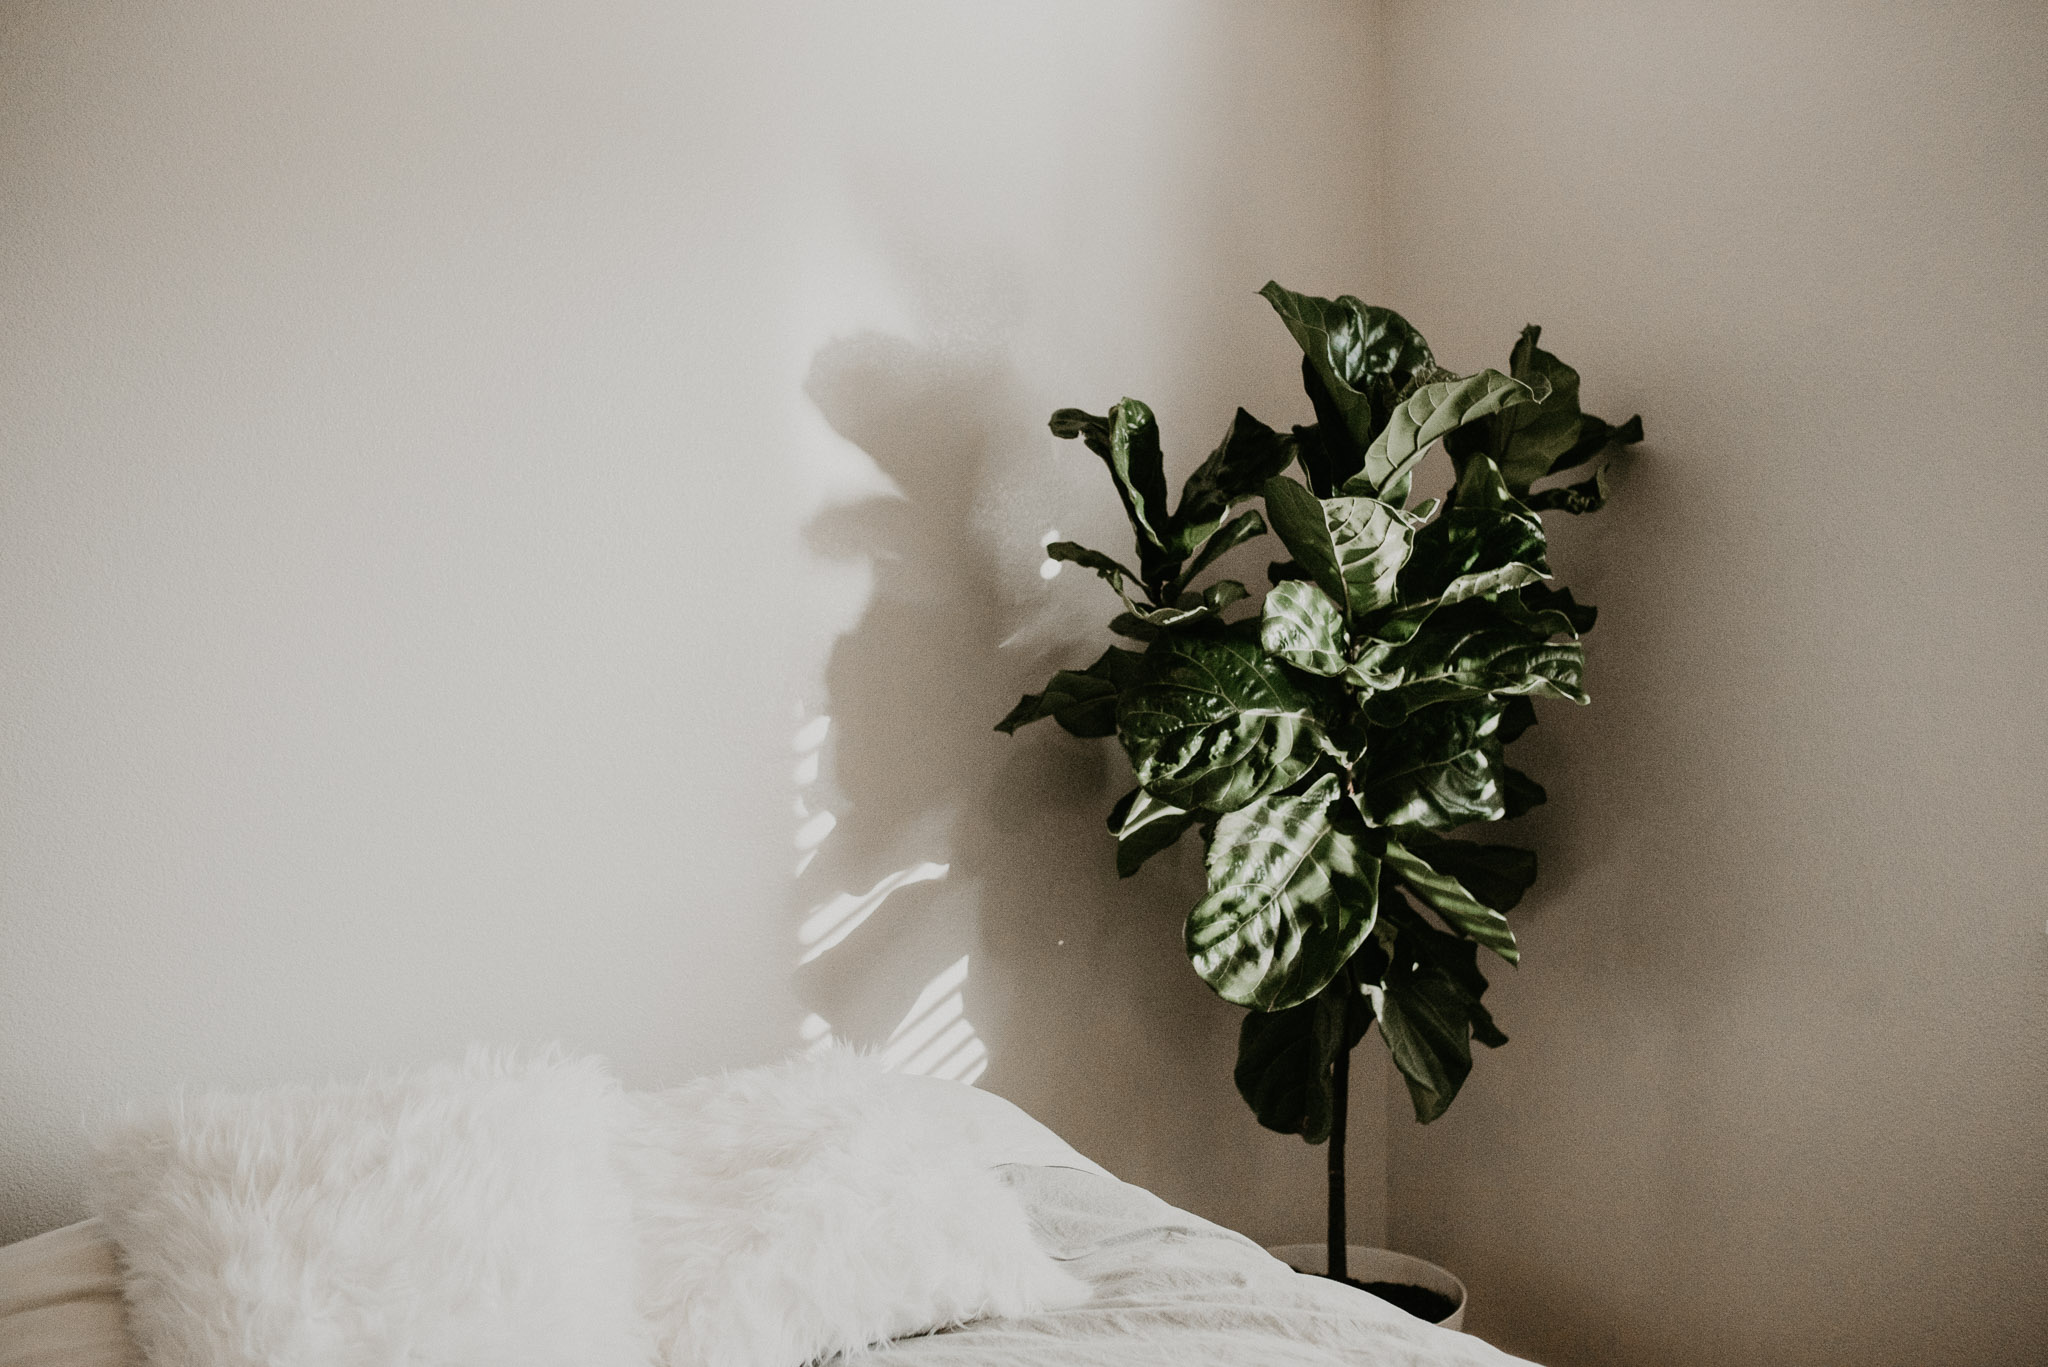

So when we got our little buddy, I instantly knew that we needed to get him in a pot with a drainage hole with a basin at the bottom (all the plants I had killed up until this point died from root rot), and I also put him in a new pot and packed in some gardening soil from Home Depot around the sides, figuring that the soil he had come in was from the nursery, so surely it must be good!
I was worried about over watering him, so instead I decided I would just give our buddy small “sips” here and there, with a few cups of water every week or so when I saw the top of his soil was dry. For about 2 weeks, it seemed like our plant was THRIVING. He even popped out a new leaf and new side shoots/roots! He was so handsome and I was so proud- everyone said these plants were soooo finicky yet here I was, keeping ours alive. No one could knock the grin off my face.
And then, about a month after we got our beautiful fiddle, I was sick to my stomach when I woke up one day and noticed his bright green leaves had black spots on them.
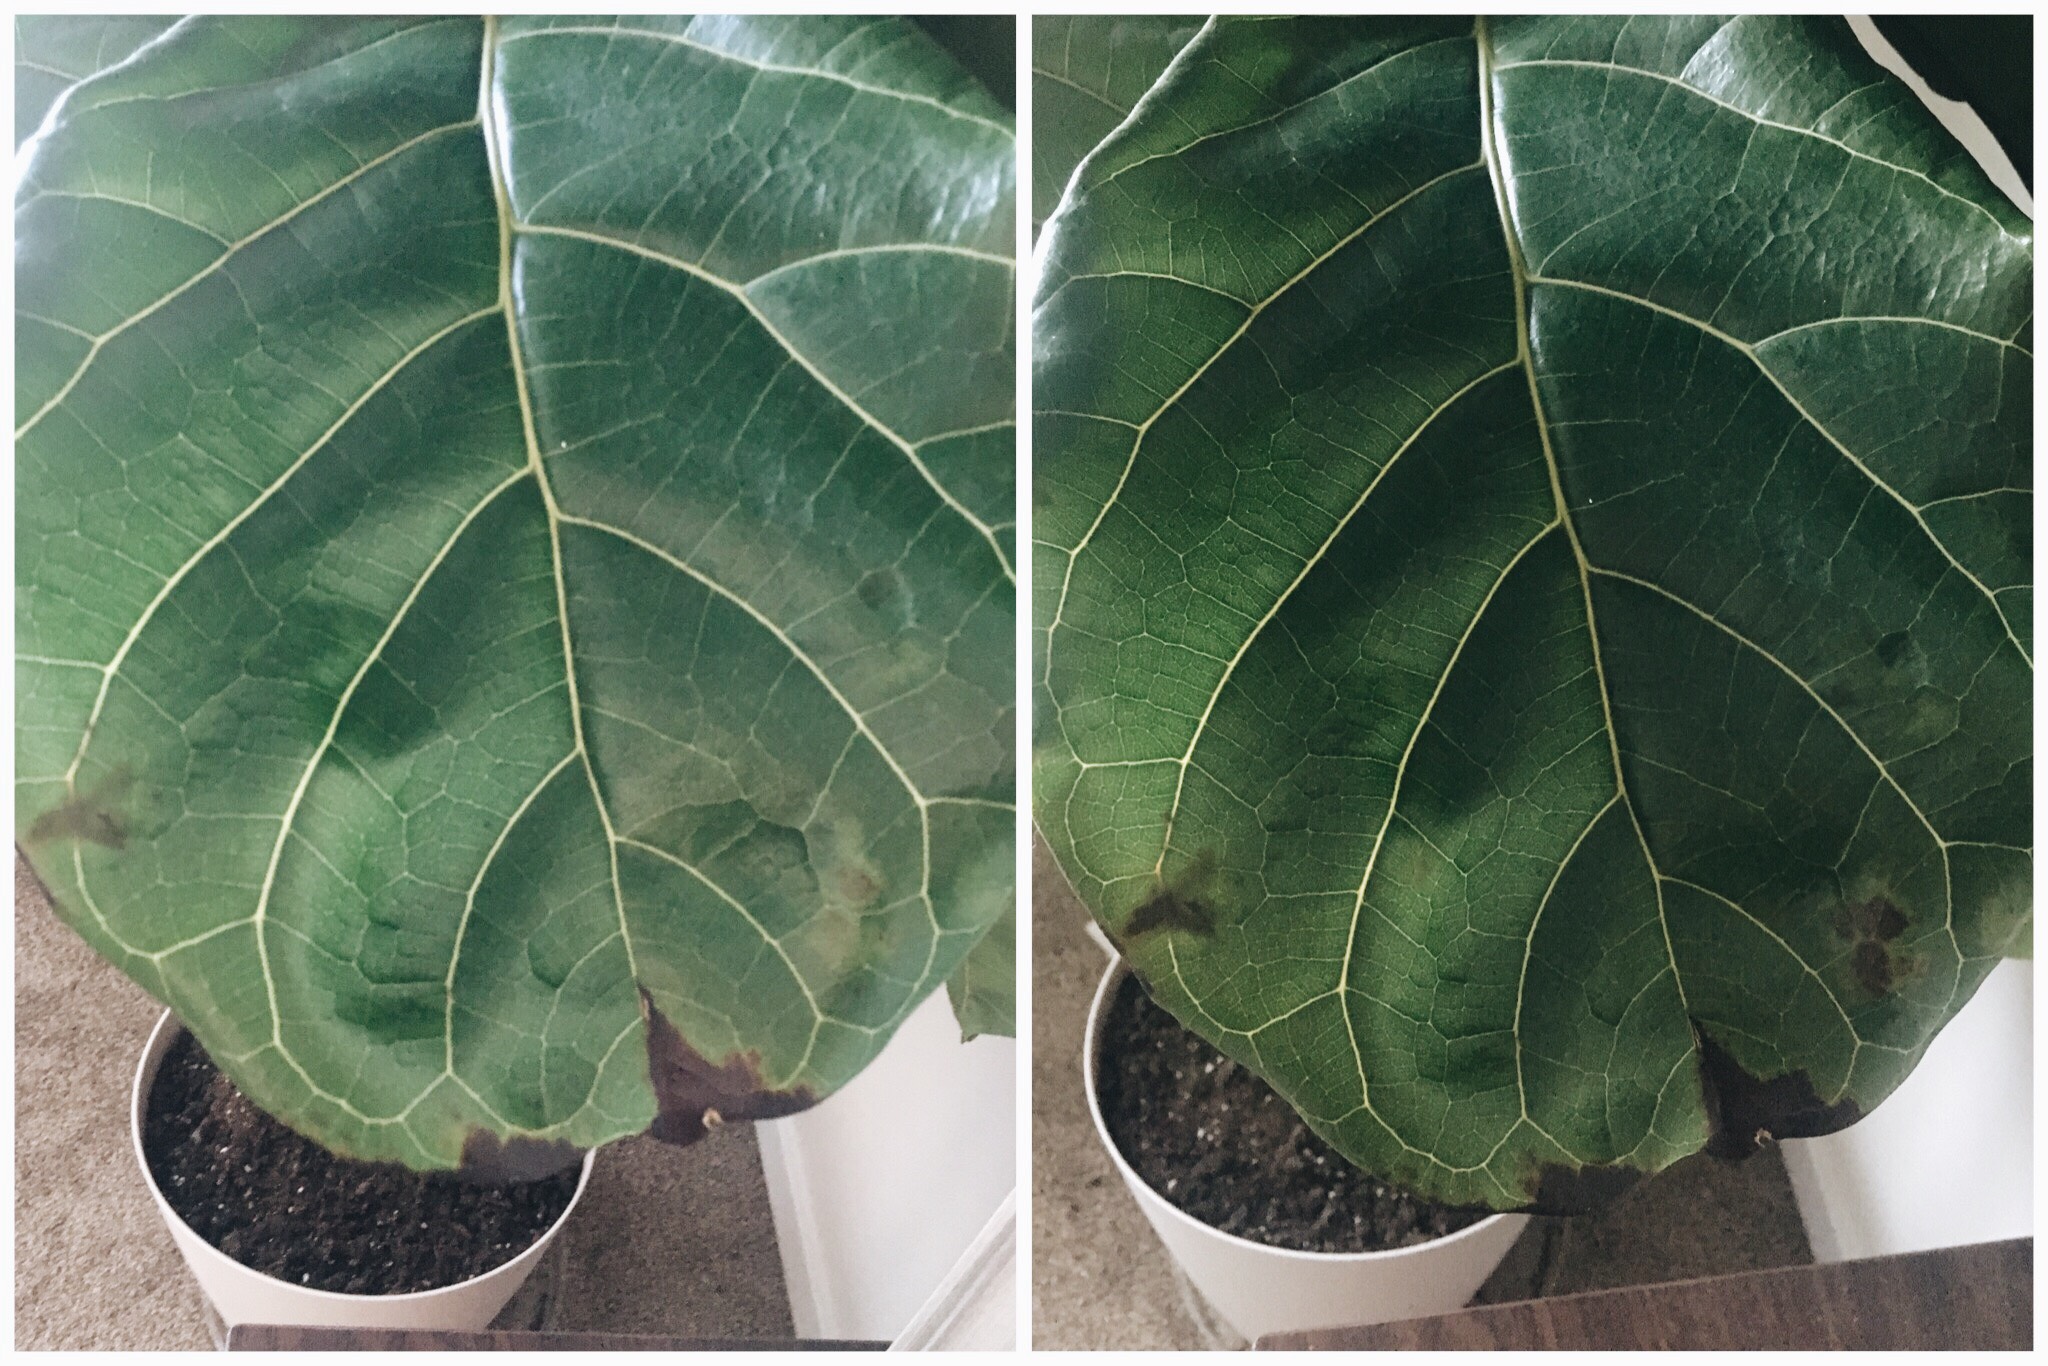

I told myself not to panic- perhaps they were just turning black from the draft from the air conditioner. But then I also noticed another sign that I did not want to see- little flying fungus gnats. A sign of too much water.
I waited a day or two but the black stuff started to spread. I found out it seemed to be something called Oedema– a problem that occurs when there is too much water for the plant to handle, and the capillaries in the leaves burst. I also was devastated to find that the shoots he had been putting out had shriveled up and turned black/brown. Another sign of too much water.
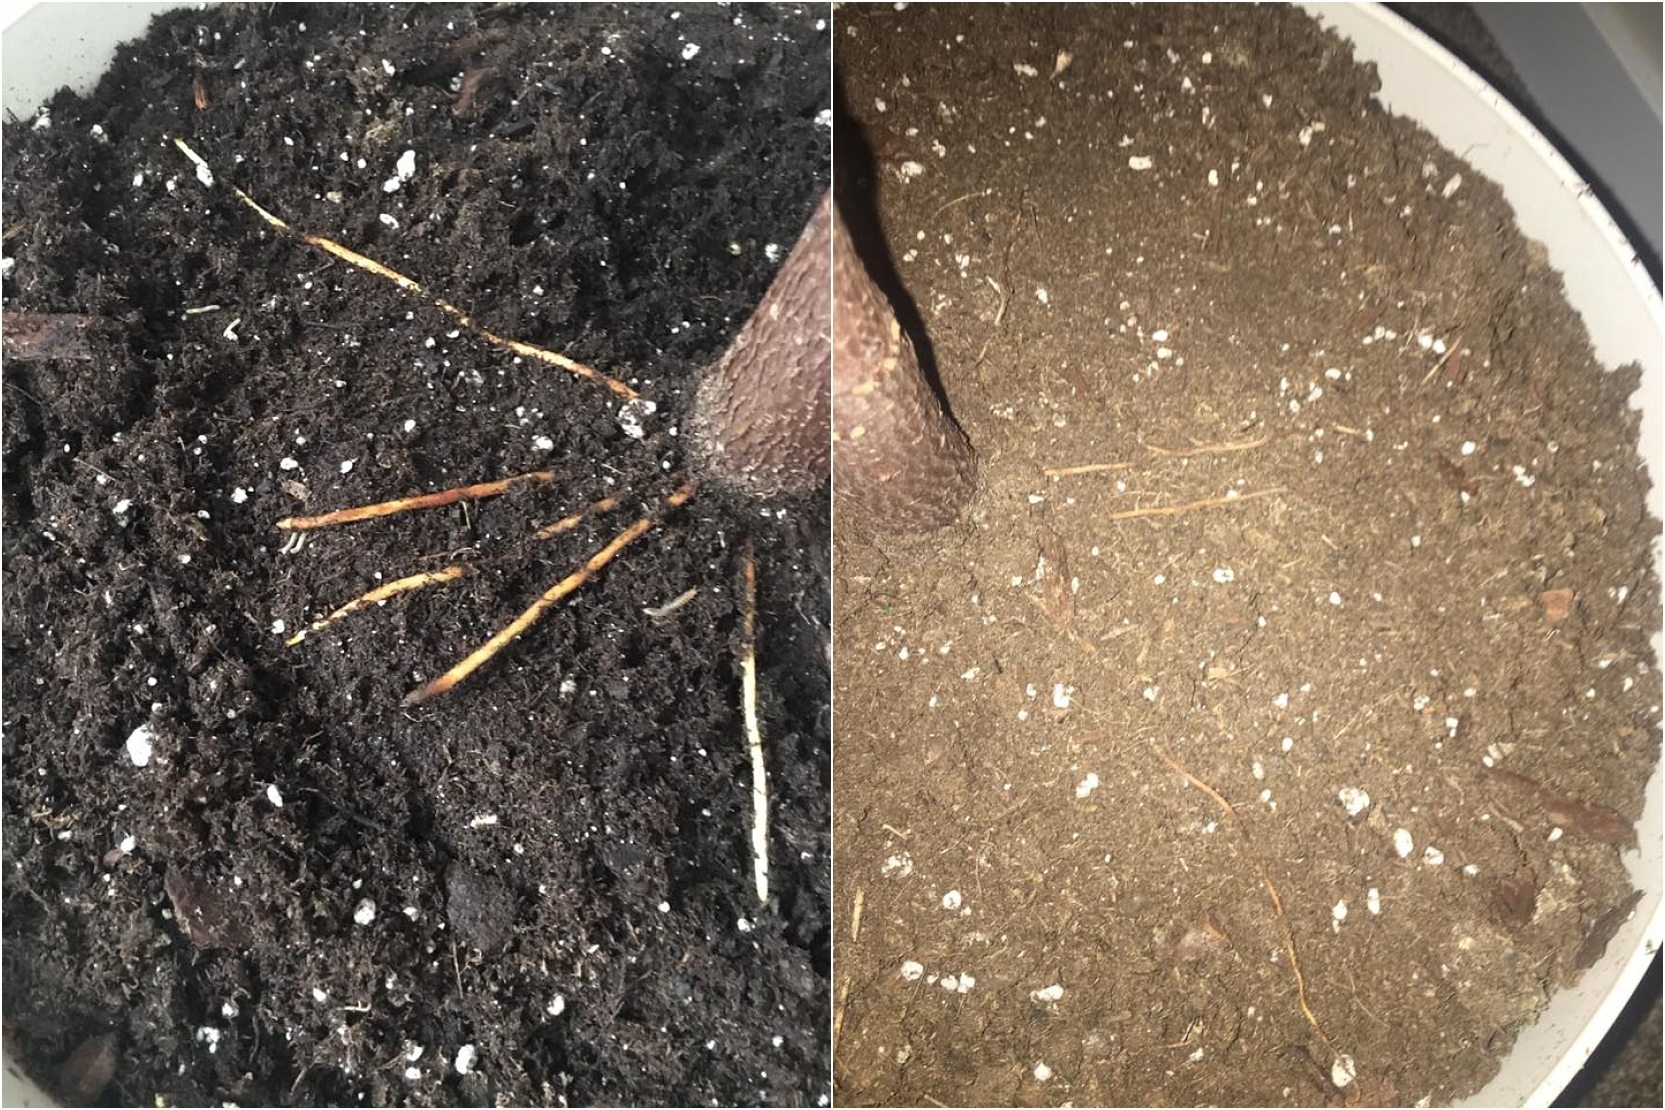

What was happening to my poor little tree? Over the next week, Sid went into a rapid decline. His leaves drooped and the Oedema spread. This is when my research and advice from the pros really came into play, and when I realized the mistakes I had made up until this point.
The first thing I learned on my plant journey is this-
Soil is the most important part to any plant’s health.
Without the correct soil the root system cannot thrive, and without healthy roots, your plant/tree will inevitably decline and begin to die.
Now you might be thinking, “Well, DUH, Makayla” but I’m serious- the soil that you buy at the store will never be adequate for your plants! Did you know that plants not only need good drainage in their pot, but they need soil that will drain well as well? AND they need air flow/circulation throughout their root system to ensure that they can take up the right amount of nutrients and water to send throughout the rest of the plant.
So while you can try to change your watering habits like I did (watering in small “sips”), while you can try to give your plant more sunlight, while you can prune and fertilize and try to do all these things to counteract whatever it is that’s killing your plant- ultimately, the best place to begin to fix ALL of these problems, is at the soil.
I realized by just keeping Sid in the soil he was in at the nursery and putting him in a slightly bigger pot and adding in potting soil from the store, that was a term called “potting up” (not to be confused with “repotting”), and that the soil he had been in at the nursery was not adequate, especially for this type of plant. To top it off, by watering in small sips for the month or so that I did, it was not flushing the soil of the fertilizer and other salts, causing the soil to compact more and more and for those things to build up. Coupled with the fact that most likely my tree was root-bound judging on how mature he was, Sid was set to fail from the moment he came through our door and into my naive little hands.
5-1-1 Soil: What it is, and how to make it.
I realized that my Fiddle Leaf needed to be in better soil if I had any chance at saving him- the next thing I learned on my plant journey was this mysterious thing called “Al’s 5-1-1 soil.” What the heck is 5-1-1 and how do I go about acquiring it?
Turns out one of the pros (Al or “tapla”, to be exact) created this soil and uses it for nearly all of his plants and has for years (and he has hundreds of plants, too). This soil is one you have to make yourself, but is a great mixture to make in a huge batch and store away for later because it can be used on basically all plant types. Ficus, Cacti, Succulents, Philodendrons, Schleffera’s, Herbs, Tomatoes, WHATEVER- you name it, and you bet your indoor plant could thrive in this soil. Everyone swore up and down this stuff was magic, and let me tell you- they weren’t kidding!
The 5-1-1 mix is made up of 5 parts bark, 1 part potting soil or peat moss, and 1 part perlite. The key to making this soil and why it works so well lie in these EXACT proportions- all these ingredients in the correct amounts combine to create a soil that not only allows proper water retention and drainage, but allows air circulation and oxygen to get to the root system like it should.
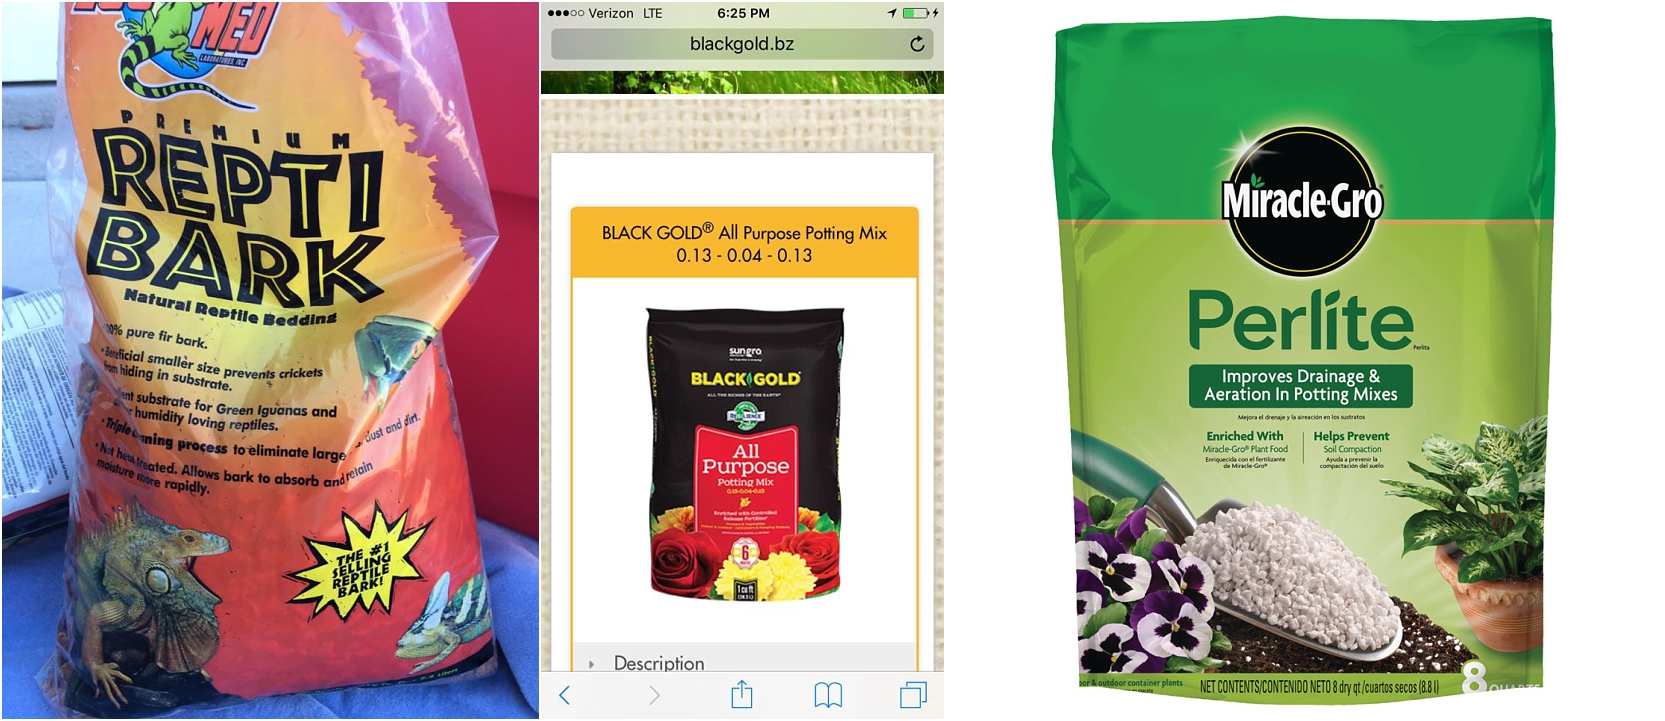
The bark I used and that many others use was Reptibark. You can find it at Zamzows or Petco or Petsmart. It’s the right size of bark so that you don’t have to crush it or anything to make it work. I then used Black Gold Potting Soil (also from Zamzows, but you can use nearly any kind of all purpose potting soil and can get it from Home Depot or any gardening store), and then Miracle Gro Perlite.

I learned the hard way that any tweak to this recipe can still throw your plant out of balance. When we first made a batch of this soil, I instead did a ratio of 2-2-1 (DO NOT DO THIS); essentially I did 40% bark, 40% soil, and 20% perlite (if you’re interested I can share pictures of the damage that happened in just 4 days sitting in the soil) but for now, I will walk you through how to make the RIGHT soil so you can repot your plant!
For 56 qts of 5-1-1 potting soil:
-
40 qts of Reptibark
-
8 qts of Black Gold potting soil
-
8 qts of Perlite (**buy 16 qts of Perlite because you will probably sift out half of it**)
Other items to pick up:
-
A large plastic tub/container to store extra soil
-
A sifter (we bought a kitchen strainer from Walmart, LOL)
-
Tarp or blanket or trash bag (this can get a little messy)
-
Bandanas/masks to cover face
-
Measuring bowl
-
A new pot for your plant, a size smaller than the original (ideal) or same size (plastic is ideal so you can drill a side hole before potting, or you can always pot in a plastic container and then plop it in a ceramic pot for a prettier look.)
After you’ve gotten all your ingredients and items together, you’ll need to sift the bark and perlite before mixing it together. This is so any dust/small particles get sifted out. If left as is, it defeats the purpose of the size of these items since the small particles will fill the “gaps” that are supposed to leave room for air and oxygen in the soil for the roots.
-
We started by sifting the Reptibark with the kitchen strainer we bought. If you prefer, you can buy a steel compost sieve at a gardening store, though I’ll save you a trip and let you know that you can usually only find them online. We measured out 40 qts of sifted reptibark and dumped it into our large plastic tub.
-
Next we moved onto the Perlite. You’ll lose a lot more here, which is why I recommend buying (2) 8 qt bags because we ended up with about half of each bag!
-
I also recommend tying a bandana around your mouth or putting on a mask when sifting the perlite. Since it’s volcanic rock, inhaling the dust can really bother your lungs! )
-
-
After you’ve sifted out 8 qts of perlite, add it to your bark. Then dump in the 8 qts of potting soil, and mix it up super well (Would recommend having gloves on unless you want a million little slivers during this part).
-
You now have a soil that will be the perfect medium for any plants you bring into your home!
Root Pruning/Repotting:
As I mentioned before, when we first got Sid, all I did was pop him into a slightly larger pot and then fill in the sides with some potting soil. I didn’t touch his root ball or do anything else. This is called potting up, but what needed to happen was a root prune/repot.
A root prune and repot involves taking your plant out of its’ pot, flushing away all the old soil, inspecting the roots for any rot or circling roots, and then teasing/trimming the root ball and then placing it back into a pot with new soil (Al’s magic 5-1-1 mix!)
It can be super scary to even think about and trust me, I was nervous as heck. But at the end of the day, your plants will last much longer and thrive much better if you can do root prunings and repots right when you bring them home, and then about once a year to maintain them.
We brought Sid outside and took him out of his pot just to inspect him. I almost cried when I saw what state he was in. The top half of his soil was bone dry, yet the bottom half of his pot was mushy and wet and smelt SO bad.
A couple things to know before repotting and root pruning-
-
BEST TIME TO REPOT– For fiddles and most other plants in zones A7, Father’s Day Weekend is PERFECT! Generally late spring/beginning of summer is best, but double check your plant type to see when the best time is!
-
When all’s said and done, if your tree or plant has started to decline, it will most likely have less roots than before once you’re done with this process. If that is the case, be sure to have a pot that is a size or two smaller, or else you will still have an over-watering problem since there will be way too much wet soil for the small amount of roots your plant will have.
-
It is vital that roots are not dry for more than a couple minutes at a time. The small, fine roots are the ones that do all the leg work for your plant, so a few minutes in the air without any water and they will all dry up.
-
You’ll want to have sharp scissors or shears to work with, to cut off any rotted, j-hooked, or circling roots.
-
This process can take awhile depending on the maturity of your tree/how badly its’ root-bound. Depending on the plant size, it’s good to have someone to help you hold it while you spray out the root ball, and prepare for it to take a little while (ours took about 2 hours or so)
If you have everything ready to go, then I’ll walk you through the step-by-step process we took with Sid and include pictures. I know this part is the most intimidating part to do, and the whole time I was freaking out thinking I was doing it wrong! Rest assured though, 2 years later our plant is alive and doing well, and at the end of the day, this process is necessary to keep your plant alive.
How To Root Prune
-
Remove your plant from its’ pot by gently tugging on it’s trunk/stem. If it’s super root-bound, chances are it will slide right out. If you have to coax it though, squeeze on the sides of the pot until it’s loosened up and the root ball can slide out.
-
Spray off the root ball with a hose to remove soil.
-
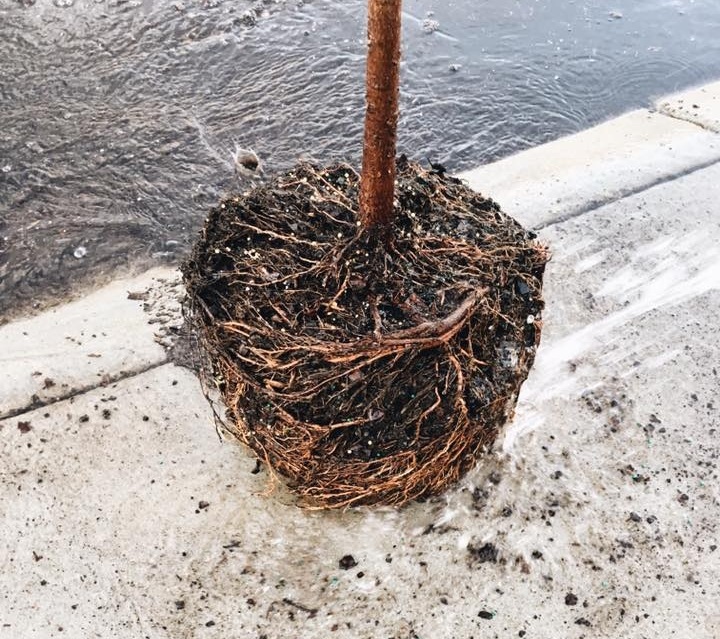
As you can see from the picture, our Fiddle was super DUPER root bound. This was after we had sprayed him with the hose, but you can see his roots are large and circle around. If you have circling roots, this is when you get in with the scissors. Cut four 2-3” slits around the base of the root ball (cutting from the bottom up) and then use your hands to try to tease the root ball down.
-
Continue to spray the roots down with the hose to avoid losing any fine roots. Cut away any black/dark brown roots, j-hooked roots, circling roots, mushy roots, or any large roots that aren’t vital to the anchorage of the plant. You can afford to cut off up to ⅔ of the root ball, so don’t worry, but for beginners, try to keep it at no more than 1/2 of the root ball.
-
Once you have trimmed up the root ball and freed away all the old soil, you are ready to put your tree into his new pot! Again, use your judgement. If you have lost a decent amount of roots through this process, put your tree in a pot smaller than the original one.
-
Fill your pot up about ⅓ of the way full, then place your tree in and begin to fill in the remainder of the pot with soil. You can gently shake the pot while you hold your tree in place to be sure it fills in any cracks, and then push down the soil as you fill up the pot.
-
Once your tree is covered up, don’t be alarmed if he’s a bit wobbly. With less roots to secure him down and a soil that is much less compact, it’s normal for him to be a bit unsteady at first. We used large rocks to be sure he didn’t come up from his soil.
-
You are now repotted and root pruned, and ready to water your tree!


Watering
When it comes to watering, now that you are in a soil that will drain properly, you can rest easy knowing you can saturate the soil to the point of drainage at the bottom of your pot, without drowning your plants’ root system. In fact, I run water 2-3 times through the pot each time I water, since this soil takes a bit for it to completely permeate!
Immediately after repotting your tree, water until water drains out the bottom of your pot (I recommend staying outside for this part or doing it in the shower). Wait a few moments for the water to drain and then repeat this process again, being sure to imagine where the root ball sits and to thoroughly water it. This will ensure that your soil is not hydrophobic (when water collects on the soil surface but doesn’t actually permeate throughout.) Hydrophobic soil will actually repel water, so watering in this way ensures that your tree is actually getting watered instead of it just draining straight through. Once the water has drained out the bottom, if you repotted in a pot with a side hole, tip your plant 45 degrees (holding onto the trunk if it’s a little unstable), and allow the perched water to drain out the side.
A perched water table (See details here) occurs despite the soil drainage and a pot having a hole at the bottom of it. Doesn’t matter how many holes it has at the bottom either, so I highly recommend trying to put your plant in something where you can drill a hole to tip it and drain the water out.
After your plant has finished draining, you can take a deep breath and pat yourself on the back. You did it!


Happy plants = Happy people!
Maintaining/Caring For Your Plant:
A repot and root prune is pretty shocking for a plant, especially one that was already in decline before. Now that it’s in proper soil, it’s up to you to give it proper conditions so that it can do its’ thing, photosynthesize, and recover as quickly as possible.
-
Put your plant in a bright sunny corner where it can get an ample amount of sunlight for most of the day. We originally had Sid in front of our window in our bedroom, but ended up moving him into our kitchen/living room area where he could get a lot more sun during the day.
-
Naturally, your tree will shed any leaves it can no longer support after a root prune. Don’t be alarmed if after several days you see lower leaves turning yellow/orange. This is your trees’ way of knowing what it can and can’t support anymore, and will help speed up the recovery process in the long run.
-
Do not water your plant again until it actually needs it! To be sure you water only when the soil is ready from here on out, use a wooden skewer or dowel (I use kebab skewers) and when the soil looks dry on the top, stick it down to the bottom of your pot. If the skewer comes up dark/stained, then your soil is still wet and you don’t need to water. If it comes up dry with no soil on it, then it’s time to water your plant again! Currently our tree takes up his water 2 weeks on the clock, but as he grows more I know that time period will shorten (Update 11/28- We know water once a week). Water on an as-is basis vs a weekly schedule, although your plant will probably end up getting on a schedule of his own in the end anyways.
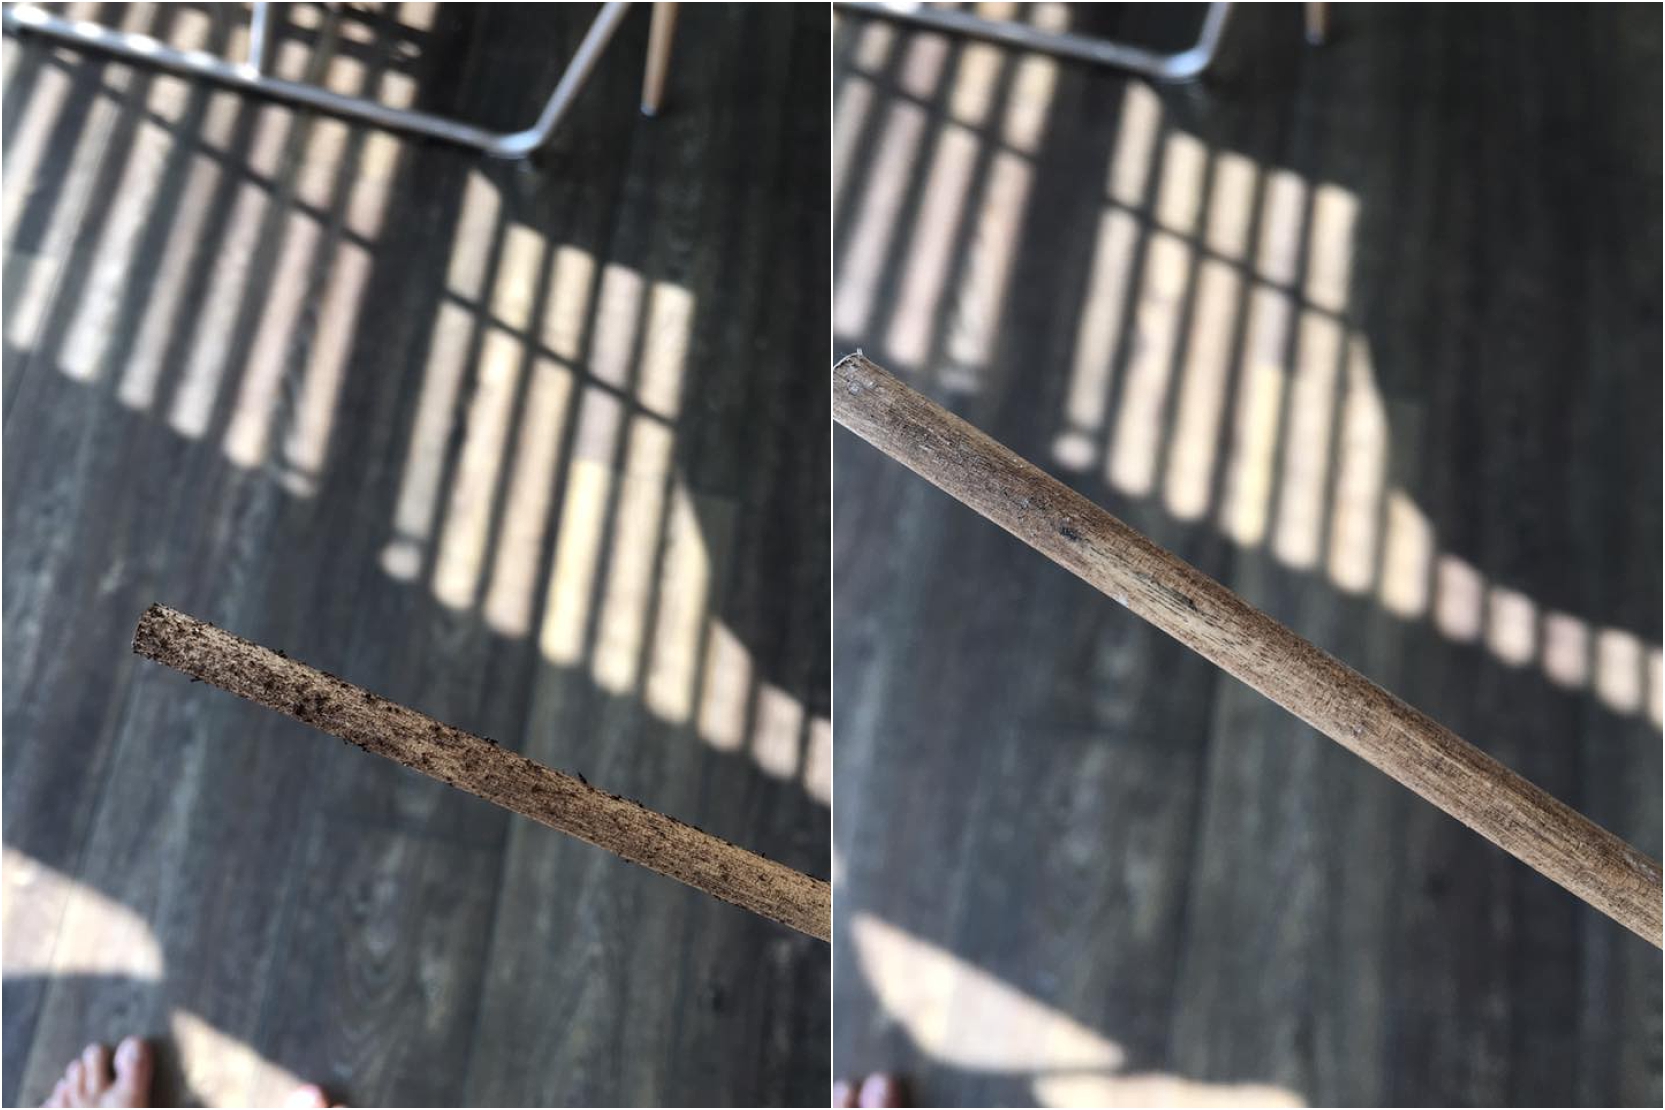

Pic 1: STOP! Don’t water yet! // Pic 2: Hooray! It’s watering day!
The next step is just to be patient. It’s normal for your plant to be droopy for a few days after a repot, but he should start to bounce back and put out new growth with time, and the black spots should stop spreading immediately!
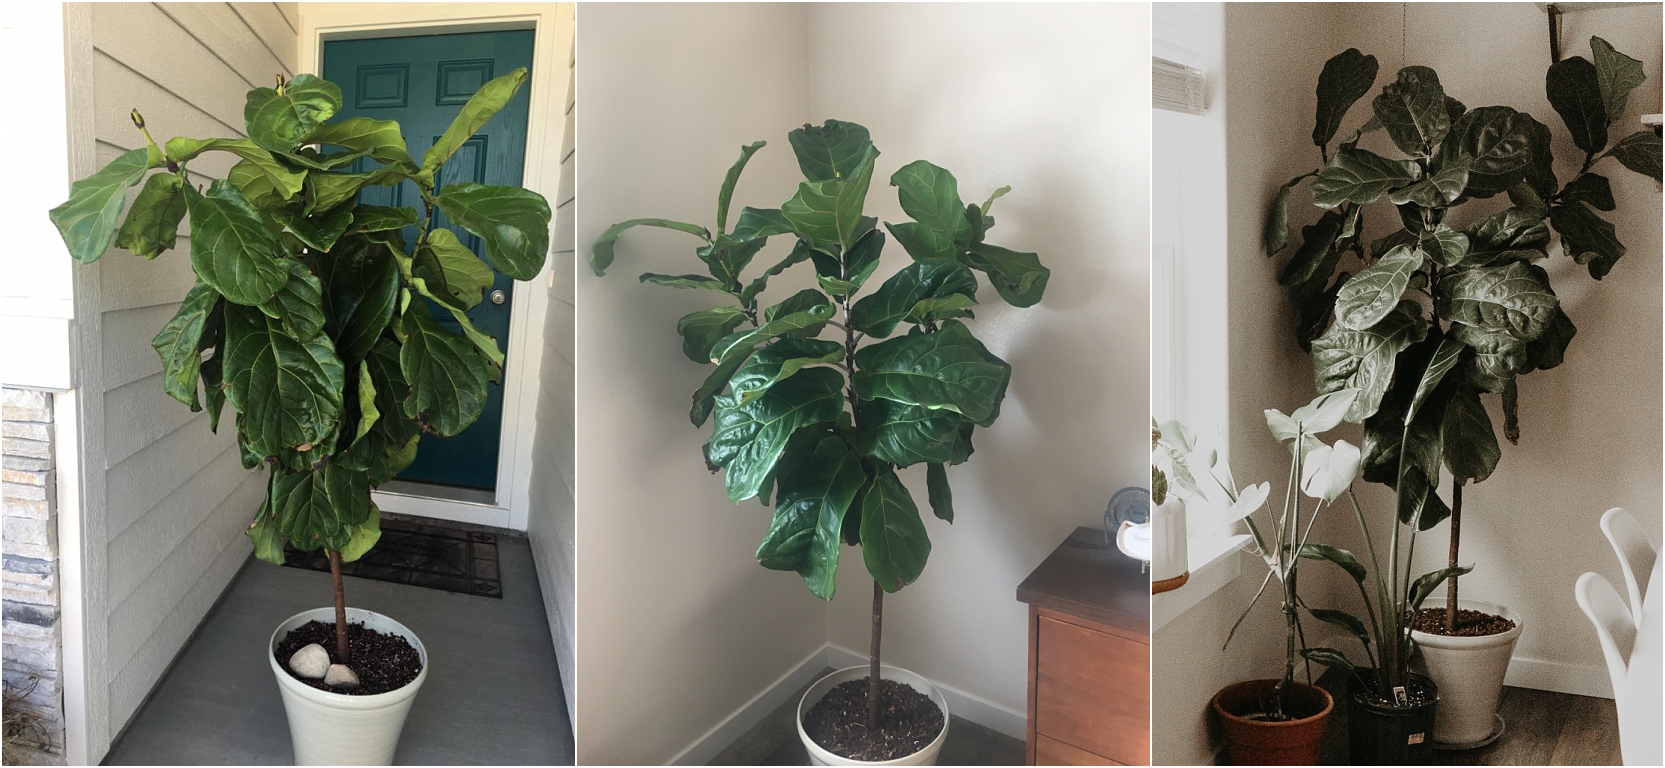

Sid after initial repotting 07/09/17 VS Sid as of 11/28/17 VS Sid as of 02/18/19
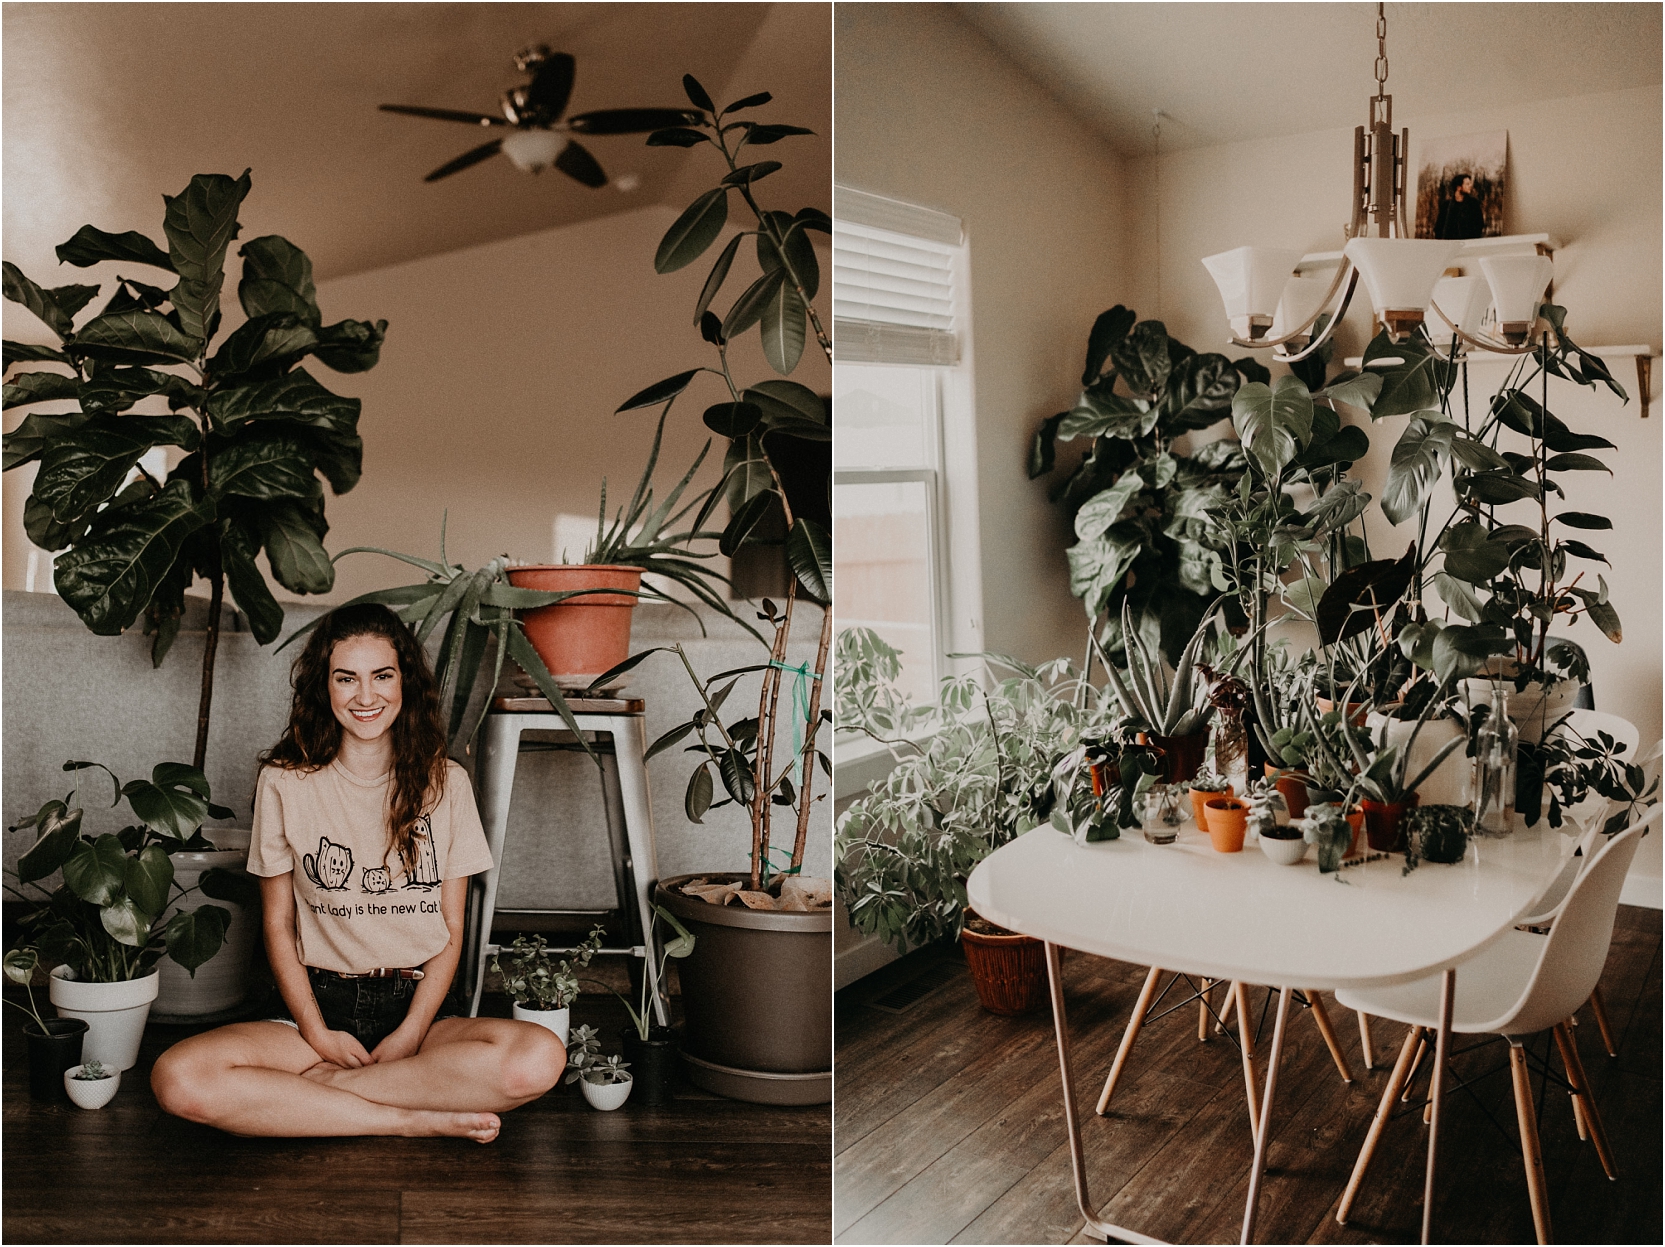

September 2017 vs February 2019
Sid and Friends: Where Are They Now
Since going through our “Sid Scare” in 2017, Sid has graced our home with his big, beautiful leaves, and I have become a crazy plant lady through and through! As silly as it seems, I was pretty terrified of losing our $200 tree (and after all the hours we spent trying to save him, I legit cried and prayed that he would be okay and come back to life). What I brought home as a photo prop soon turned into an obsession and life change, and I am so thankful for it. After Sid began to bounce back from his re-pot and I saw that this soil worked, I brought home a few more plant babies to add some siblings to his life. Over the past year and a half our family has grown from a dozen plants to over 30, and my new studio has just allowed me to keep the plant obsession spreading!


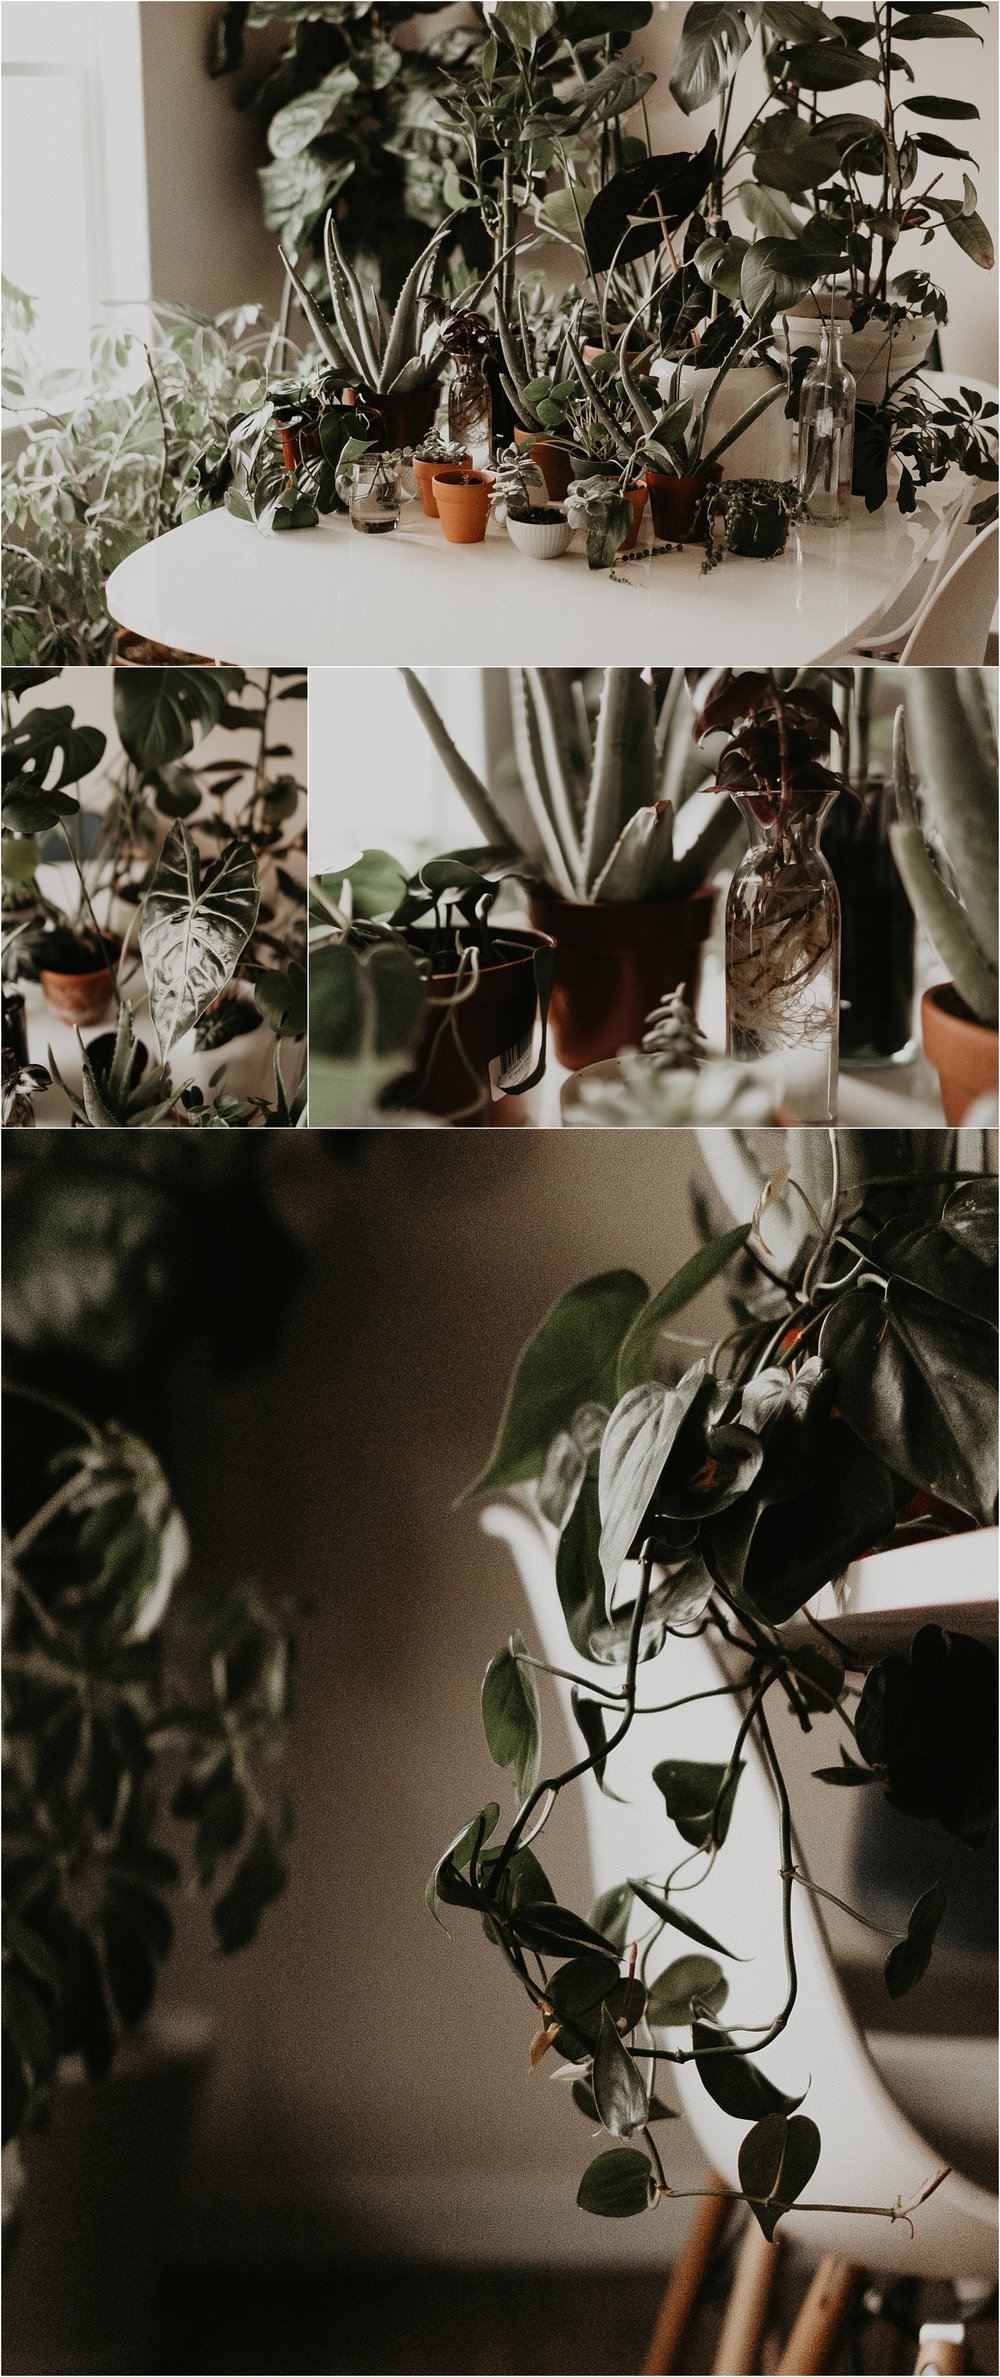

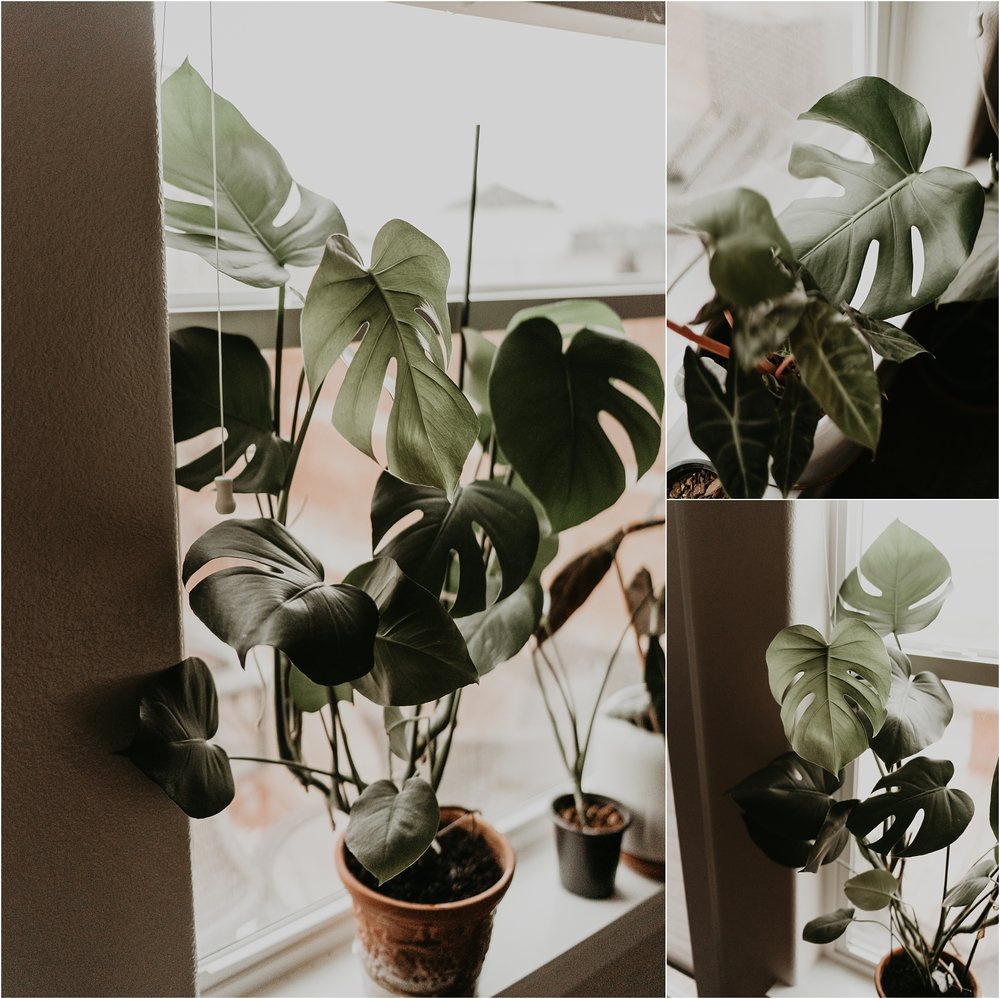


I hope this in-depth guide helps you on your plant journey and that you’re able to grow lots of beautiful new babies in your home! Please do not hesitate to reach out to me in the comments section if you have any further questions. And feel free to share this article with any other plant-lovers in your life!
Makayla

please never take this down
Loved reading your Sid story. I have been the owner of my daughter’s FLF for a couple of years now. Connie Kisor
Hello! This is SO useful. Thank you so much! I’m hoping to do this too with my fiddle leaf, but I live in a small NYC apartment and don’t have enough space for extra soil. Did you find that you used all 56 quarts of the soil? How much did you actually use?
Hi Amy!
For just this one plant, 56 quarts was way too much! I am so bad at converting quarts to gallons but this was a 4 or 5 gallon pot he was in?
I have been on the internet ALL day trying to find the best information for bringing my lemon tree home and ensuring that I care for it properly. This post was literally a life saver and was more informational and helpful than anything else I could find. I especially loved the updates on SID and the photos of how well he is doing. Thank you soo much for taking the time to write this:)
Liz! This makes me so happy to hear! We are now in year 4 since taking Sid home and he is getting almost TOO big for our current place- how is your little lemon tree doing??
What a great plant article! I came across it looking for solutions to combat fungus gnats. I have turned into a plant lady since we moved into our new house 2 years ago. I am overwintering my coleus cuttings from last summer and have acquired a dozen or so houseplants. I also am starting veggies/more coleus seeds. I haven’t bought any new plants so more than likely the dreaded gnats came from potting soil I purchased. I am so happy you had success with this potting mix. If we weren’t in the midst of temperatures in the teens and soon to be single digits, I would be out and about hunting down ingredients today! Maybe I’ll just order online…anyway thanks for a great article and I love your t-shirt! Happy house-planting!
Andrea
Hi Andrea! From one plant lady to another, HELLO! How are your fungus gnats doing this month?